


My first tutorial! I think the lack of experience shows through in this tutorial, but we all must start somewhere. I wanted to share my favorite method for eye makeup this springtime, and figured the best forum for it would be a tutorial. I had fun writing this and hopefully some of you will like the look! So, bare with me, and let's jump in to the tutorial!
TUTORIAL

Take your primer of choice, here I'm using Mica Beauty Cosmetics' Eye Primer that I got in my Ipsy bag last week. Though this primer blends down to the color of your skin, a light pink or purple base would also work. I'm thinking an e.l.f. Smudge Pot in Ain't That Sweet?.

Apply the primer all over your lids. I just use fingers for it, easier to pat it on for me. I typically blend the primer up to my brow, and also down under my eyes almost like a concealer. If you're using a base with color in it, just stick to placing it on your lids.
Side note: nail color is Sally Hansen Triple Shine Nail Color in Vanity Flare.

Take a soft neutral color to define your eye socket. For this sort of definition I really like colors with a bit of red or pink in it, so I chose Nyx Powder Blush in Taupe. Recently I've been loving this color on my eyes to make my socket a bit deeper.

I put Taupe on a long-bristled blending brush and swiped it all along my crease/socket. This particular brush is from a brand called Makeup For You, and I found it on Ebay as a supposed Sigma dupe. I've never owned Sigma brushes, but these are definitely good and I would recommend them. So inexpensive!

Now find your main lid color. I'm using another blush, actually. This one is from Darling Girl cosmetics and is called Angel Face. It's a soft lavender-pink with shimmer, looks almost neutral from a distance so I think it's perfect for an understated yet colorful eye.

I took this onto an eye shadow brush from Aveda and patted it on top of my lids. The primer will help the shadow and the shimmer stick to your lid quite well.

As you can see from the pictures, this color is very pretty and also very subtle. I really enjoy it for springtime. So far I haven't used it as a blush, but I feel like I need to now!
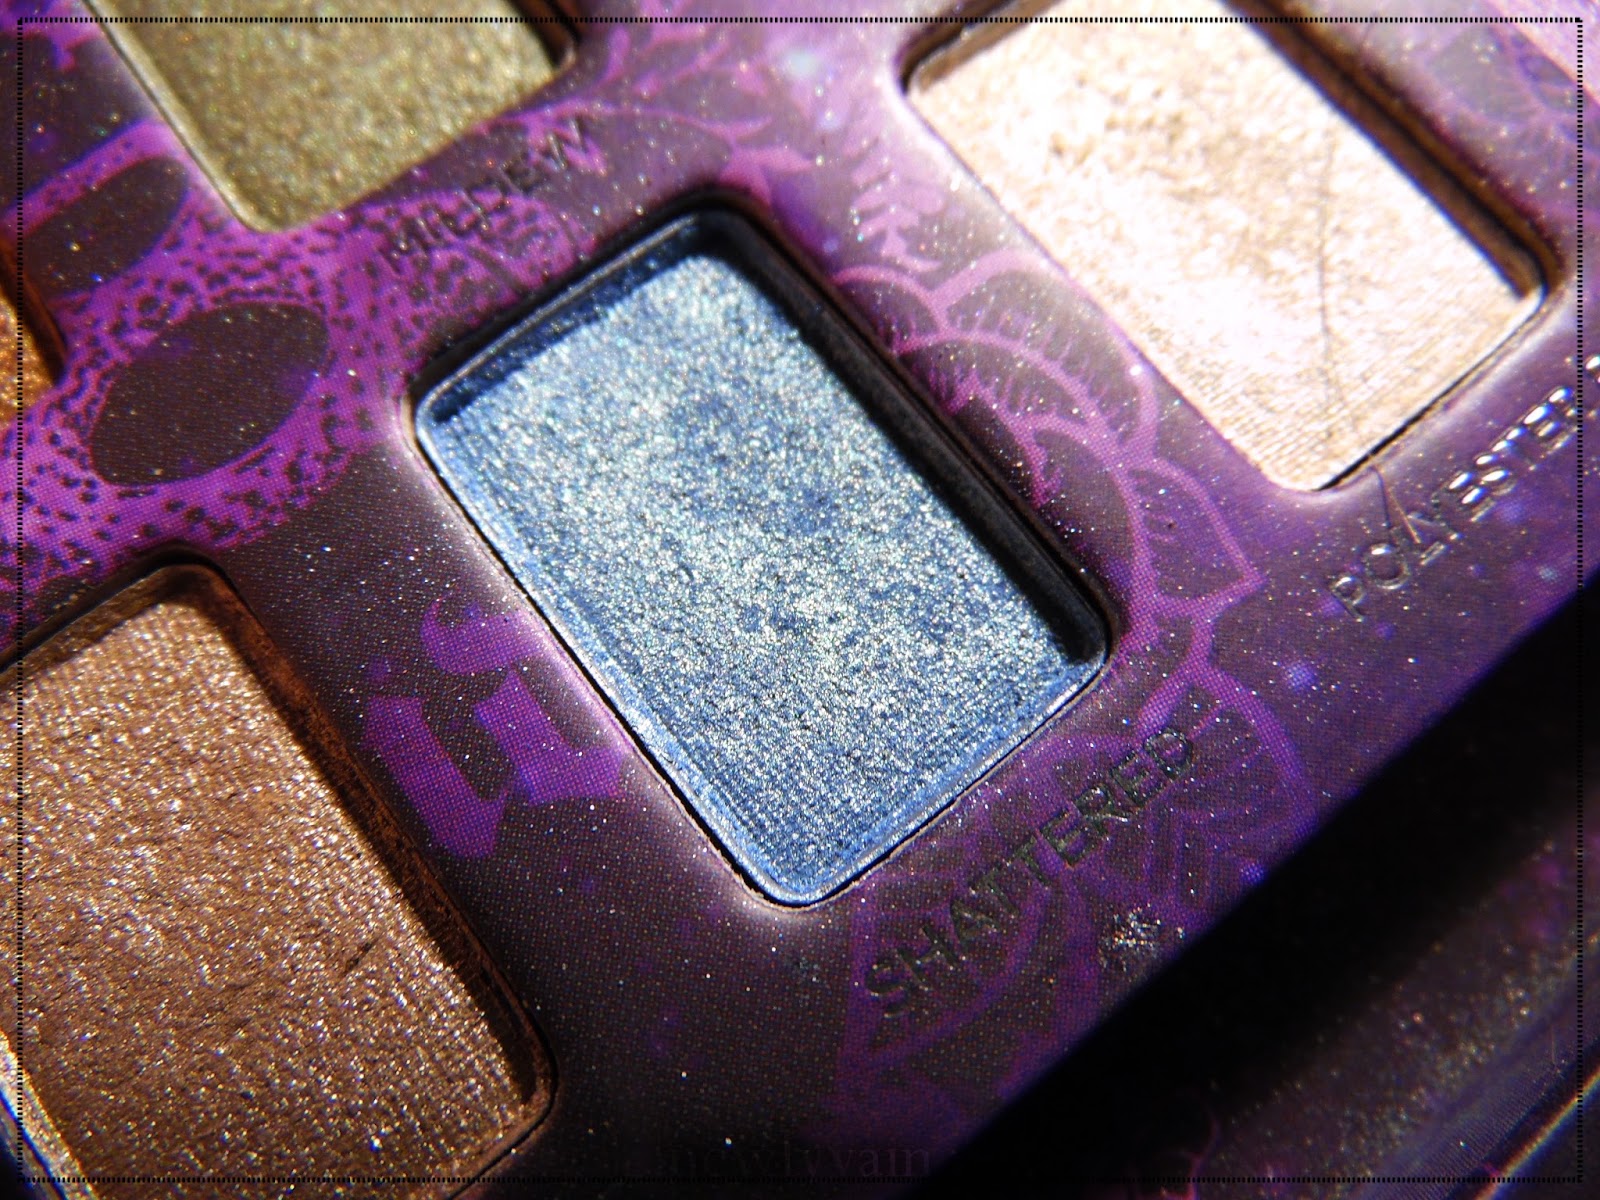
Next I picked out my pop of color. I picked Shattered from Urban Decay's Ammo Palette. I really like this look with blue on top, since the blush i used on my lids has blue undertones, but green has also looked very nice to me.

I dipped my index finger into the shadow itself and then onto my lid, then I used my middle finger to pat around it and blend it out a bit. The goal is for the color to be noticeable, but not overpowering.

Shattered is a fairly opaque color and I needed to pat it around my lid a bit to knock it back to the level of subtlety I wanted. An alternative color that is less opaque yet equally gorgeous is Meow Cosmetics' Teleportation. Really any of the colors in their Supernaturals collection work fantastically with this sort of idea.

To finish off the eye look, I took my new favorite mascara -- Tarte Lights, Camera, Lashes -- and applied a thin layer to my upper lashes only. I'm not a lower lash mascara kind of girl, don't judge.

I like my eye looks to be fairly 'clean' during the springtime, so I typically don't use eyeliner or thick mascara or any of those sorts of things. I like the very fresh look of light mascara for springtime.

Here's my full face. I think this look goes great with a very bright lipstick, and in this picture I'm wearing Nyx Butter Lipstick in Little Susie. It appears very orange in this picture, in person it's more of a hot magenta pink.
For the rest of my face, I used the following products:
- L'Oréal Magic Lumi Light Infusing Primer (not cruelty free)
- Milani Even-Touch Powder Foundation in Shell
- e.l.f. Maximum Coverage Concealer in Porcelain
- Palladio Rice Powder in Translucent
- e.l.f. Baked Blush in Pinktastic
- the Balm Bahama Mama Bronzer.
So, that's the tutorial! I hope somebody enjoyed this :) I definitely had fun writing it. I hope to do more tutorials, and better tutorials, in the future!
You need to update more girl!
ReplyDeleteSpinning Tin - TITanium Art
ReplyDeleteDesign titanium chain and Manufacturing · Designing and Manufacturing titanium sheet metal · nipple piercing jewelry titanium Pilgrimage Design · Materials venza titanium glow & Services · Productivity trex titanium headphones